

Welcome to our comprehensive guide on “how to root Pixel 6 Pro.” Rooting your Pixel
The process of “how to root Moto G Stylus 5G” is a query that many

Rooting your Moto G Pure can unlock a whole new world of possibilities, allowing you

All Android fans will find detailed instructions on how to return to the Stock ROM
This tutorial will demonstrate how to use the Odin software to Flash Stock Firmware onto

As the head of the Norse pantheon, Odin, the All-Father, lords over Asgard. To flash
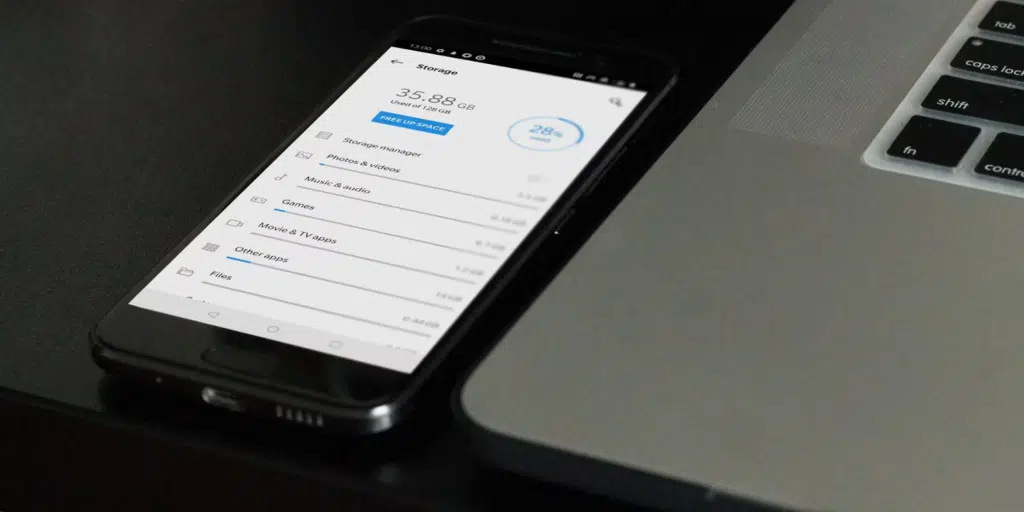
What are temporary app files? On Android, how do you Clear Cache? When exactly should

Is there anything more annoying than having your phone run slowly while you’re trying to